
How do you balance a multi-head volumetric filling machine?
Balance a multi-head volumetric filling machine by collecting a separate result series for every filling head under the same product, feed, speed and container conditions. Correct shared process variation first, then investigate repeatable head-specific differences before applying calibration offsets.
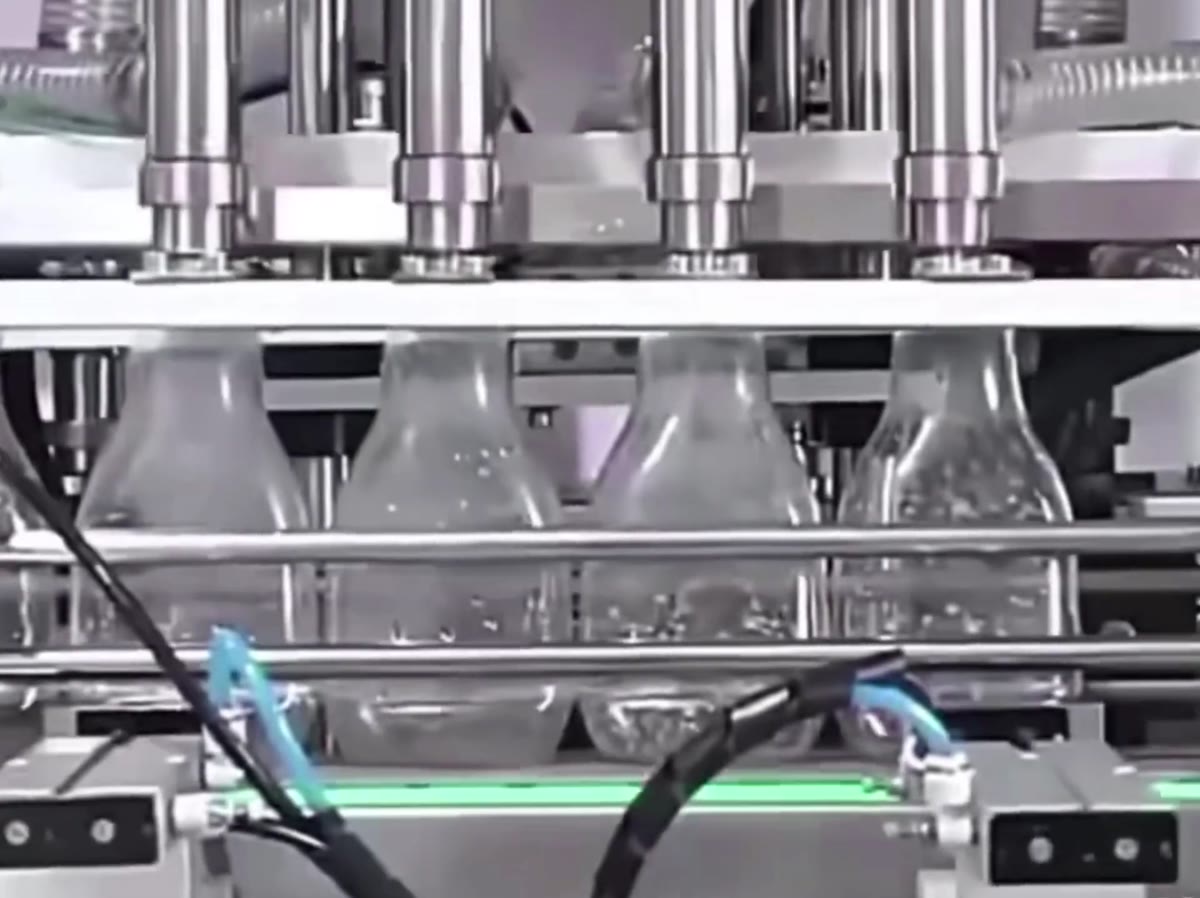
Treat every filling head as a separate process channel.
Label the heads, keep the test conditions common, collect fills in sequence and compare each head’s centre, spread, cut-off and restart behaviour. A line-wide average is useful for overall output but cannot prove that every head is producing an acceptable dose.
- Stabilise the shared product feed before adjusting individual heads.
- Use the same tare and measurement method for every sample.
- Retain the head identity through filling, weighing and analysis.
- Repeat the check after any cylinder, seal, valve or nozzle change.
Why can a combined average hide a weak filling head?
A combined average can appear close to target when one head fills high and another fills low. It can also conceal a head with a wider spread than the others. Because containers leave the line individually, acceptance should include head-specific results as well as the overall line result. Retaining head identity makes mechanical and process troubleshooting much faster.
| Result view | What it can show | What it can hide |
|---|---|---|
| Combined line average | Overall centre of all measured packs | Opposing head biases and one unstable head |
| Average by head | Persistent high or low head | Short-term spread or restart effect |
| Sequence by head | Drift, intermittent error and transition behaviour | Nothing if sample identity is preserved correctly |
What order should multi-head balancing follow?
Start with common conditions: product temperature, hopper level, feed pressure, line speed and container presentation. Confirm that every head has the correct cylinder or pump, valve, seal, hose, nozzle and recipe. Collect a baseline by head, investigate mechanical differences, then apply the smallest justified calibration correction. Re-run the complete sequence after adjustment.
- 1
Stabilise shared inputs
Use the same product and supply condition for all heads.
- 2
Verify physical configuration
Check part numbers, assembly, prime state and nozzle position.
- 3
Measure by head
Retain individual values and their production sequence.
- 4
Correct and repeat
Adjust only after the cause has been narrowed and repeat the full test.
When should a head be investigated instead of recalibrated?
Investigate the head when its result is intermittent, its spread is wider, the offset changes with speed or product condition, the nozzle drips, the cylinder refills differently or the deviation appeared after maintenance. A calibration offset is appropriate only for a stable, understood difference. It should not compensate for a worn seal, trapped air, restricted valve or unstable feed branch.
Recheck transition states
After the steady-state heads are balanced, repeat start-up, planned stop and restart samples. Shared line pressure and individual drain-back can create a different pattern from continuous running.
Continue the specification in the right order.
Send results with the filling-head identity preserved.
Provide the sequence, product conditions, settings and head-specific measurements so Lancing can separate shared process variation from an individual-head issue.